Decor Tools for Furniture & Creative Projects
Discover Iron Orchid Designs decor tools at Mama Bear Blue, including moulds, stamps, transfers, and paint inlays. IOD products are designed for furniture makeovers, DIY projects, and creative applications that add texture, dimension, and vintage-inspired detail.
The Summer 2026 Collection is here - featuring fresh, inventive designs in the form of transfers, moulds, paint inlays, and stamp sets.
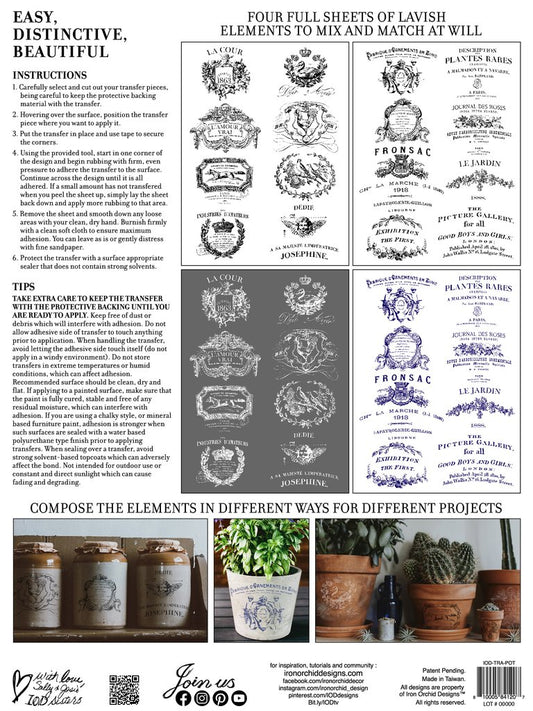
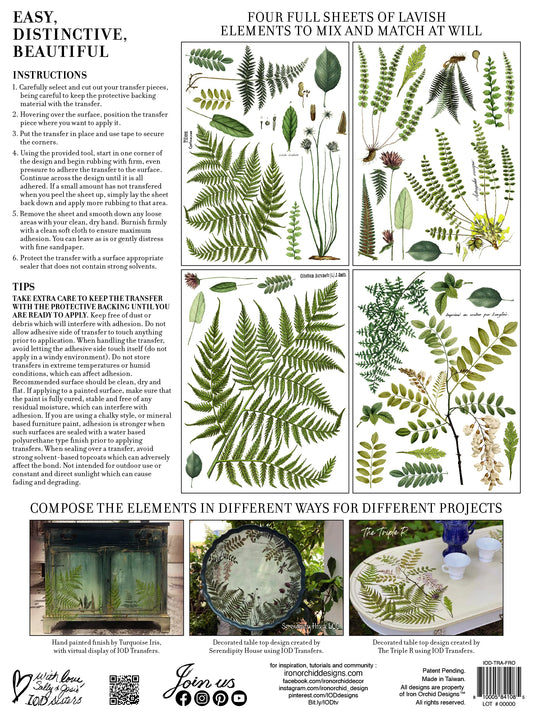
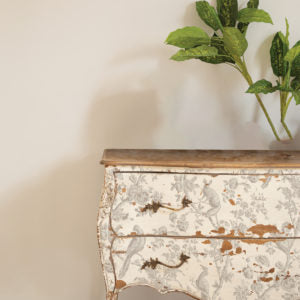
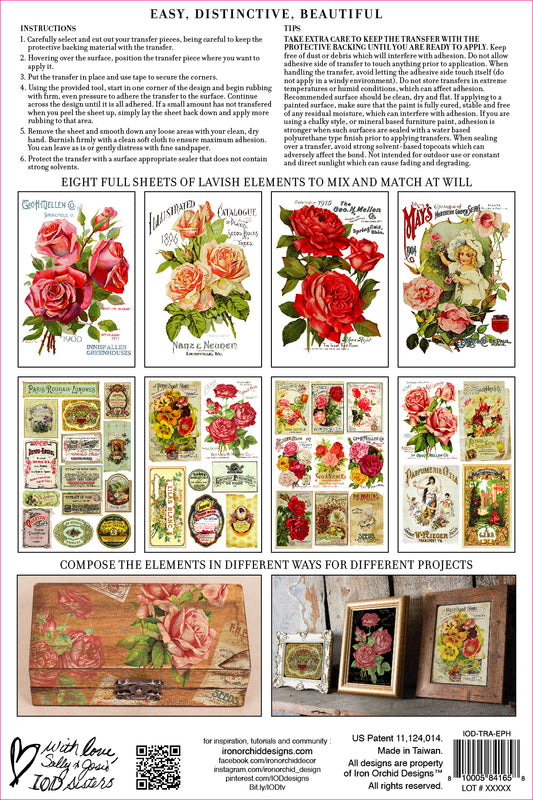
IOD DECOR TRANSFERS
IOD Decor Transfers are easy to use and add instant style to your projects. Applied with a plastic tool that comes with your transfer. The images are rubbed off the carrier paper onto your project!
New to transfers? Browse this playlist of tutorials created by Aimee!
You can seal your projects with the Clear Liquid Patina from DIY Paint Co.
IOD DECOR STAMPS
For anyone who hasn’t used the IOD Decor Stamps, they are essentially what they sound like. Similar to a stamp that you might’ve used as a child- but magical. The IOD Décor Stamps have the power to transform an item that you found on the side of the road to an item that The IOD décor stamps aren’t just for furniture and home décor, you can use them to transform your food art as well! The stamps are made from a food safe material (do not use the same sets for food and paint. But be warned- they are not for high heat applications. Do NOT put in dishwasher, they will melt at extreme heats. And then you will be extremely heated too.
Don’t forget your IOD Inks!
You can seal your projects with the Clear Liquid Patina from DIY Paint Co.
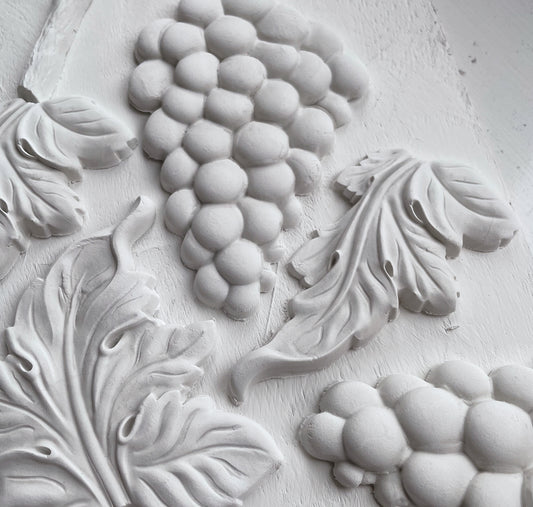
IOD DECOR MOULDS
The IOD Decor Moulds are made from food safe materials (do not use the same set for food and crafts), and can be used to transform and create baked goods, furniture, soaps, jewelry, and just about anything you can think up in that creative brain of yours.
Don’t forget your IOD Air Dry Clay, or Alumilite Resin in Clear AND White.
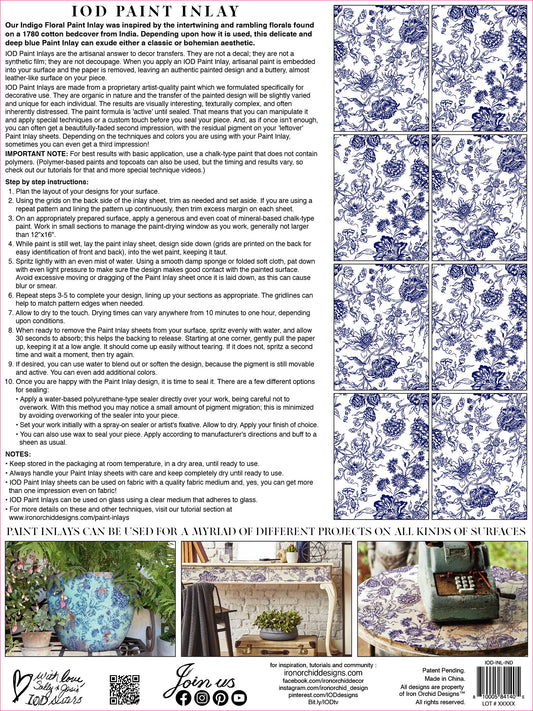
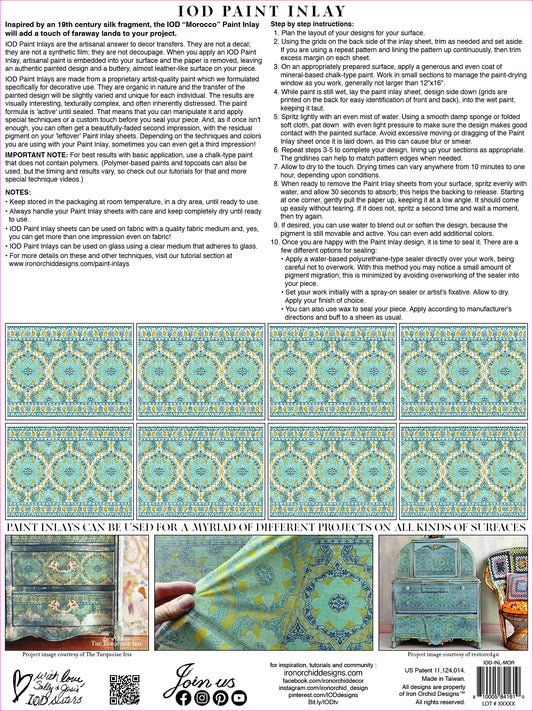
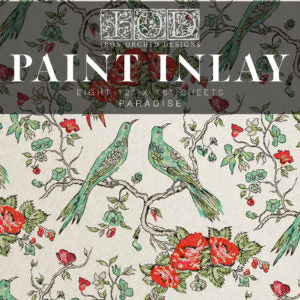
IOD PAINT INLAYS
A Brand New Technique Developed & Patented by IOD! When you apply
IOD Paint Inlays, Artisanal Paint is embedded into your surface and the paper is removed, leaving an authentic painted design and a buttery, almost leather-like surface on your project.
The 8 sheets will transfer a bright layer of paint in 1st applications - set the sheet aside for 2nd, and maybe even 3rd applications of lighter design, and a more distressed look. The possibilities are endless! You can reconstitute the paint after application, and even add more colors. Experiment, and have fun!

 Sold out