Iron Orchid Designs
Lost Garden -12" x 16" Floral Transfer Pad
Lost Garden -12" x 16" Floral Transfer Pad
Couldn't load pickup availability
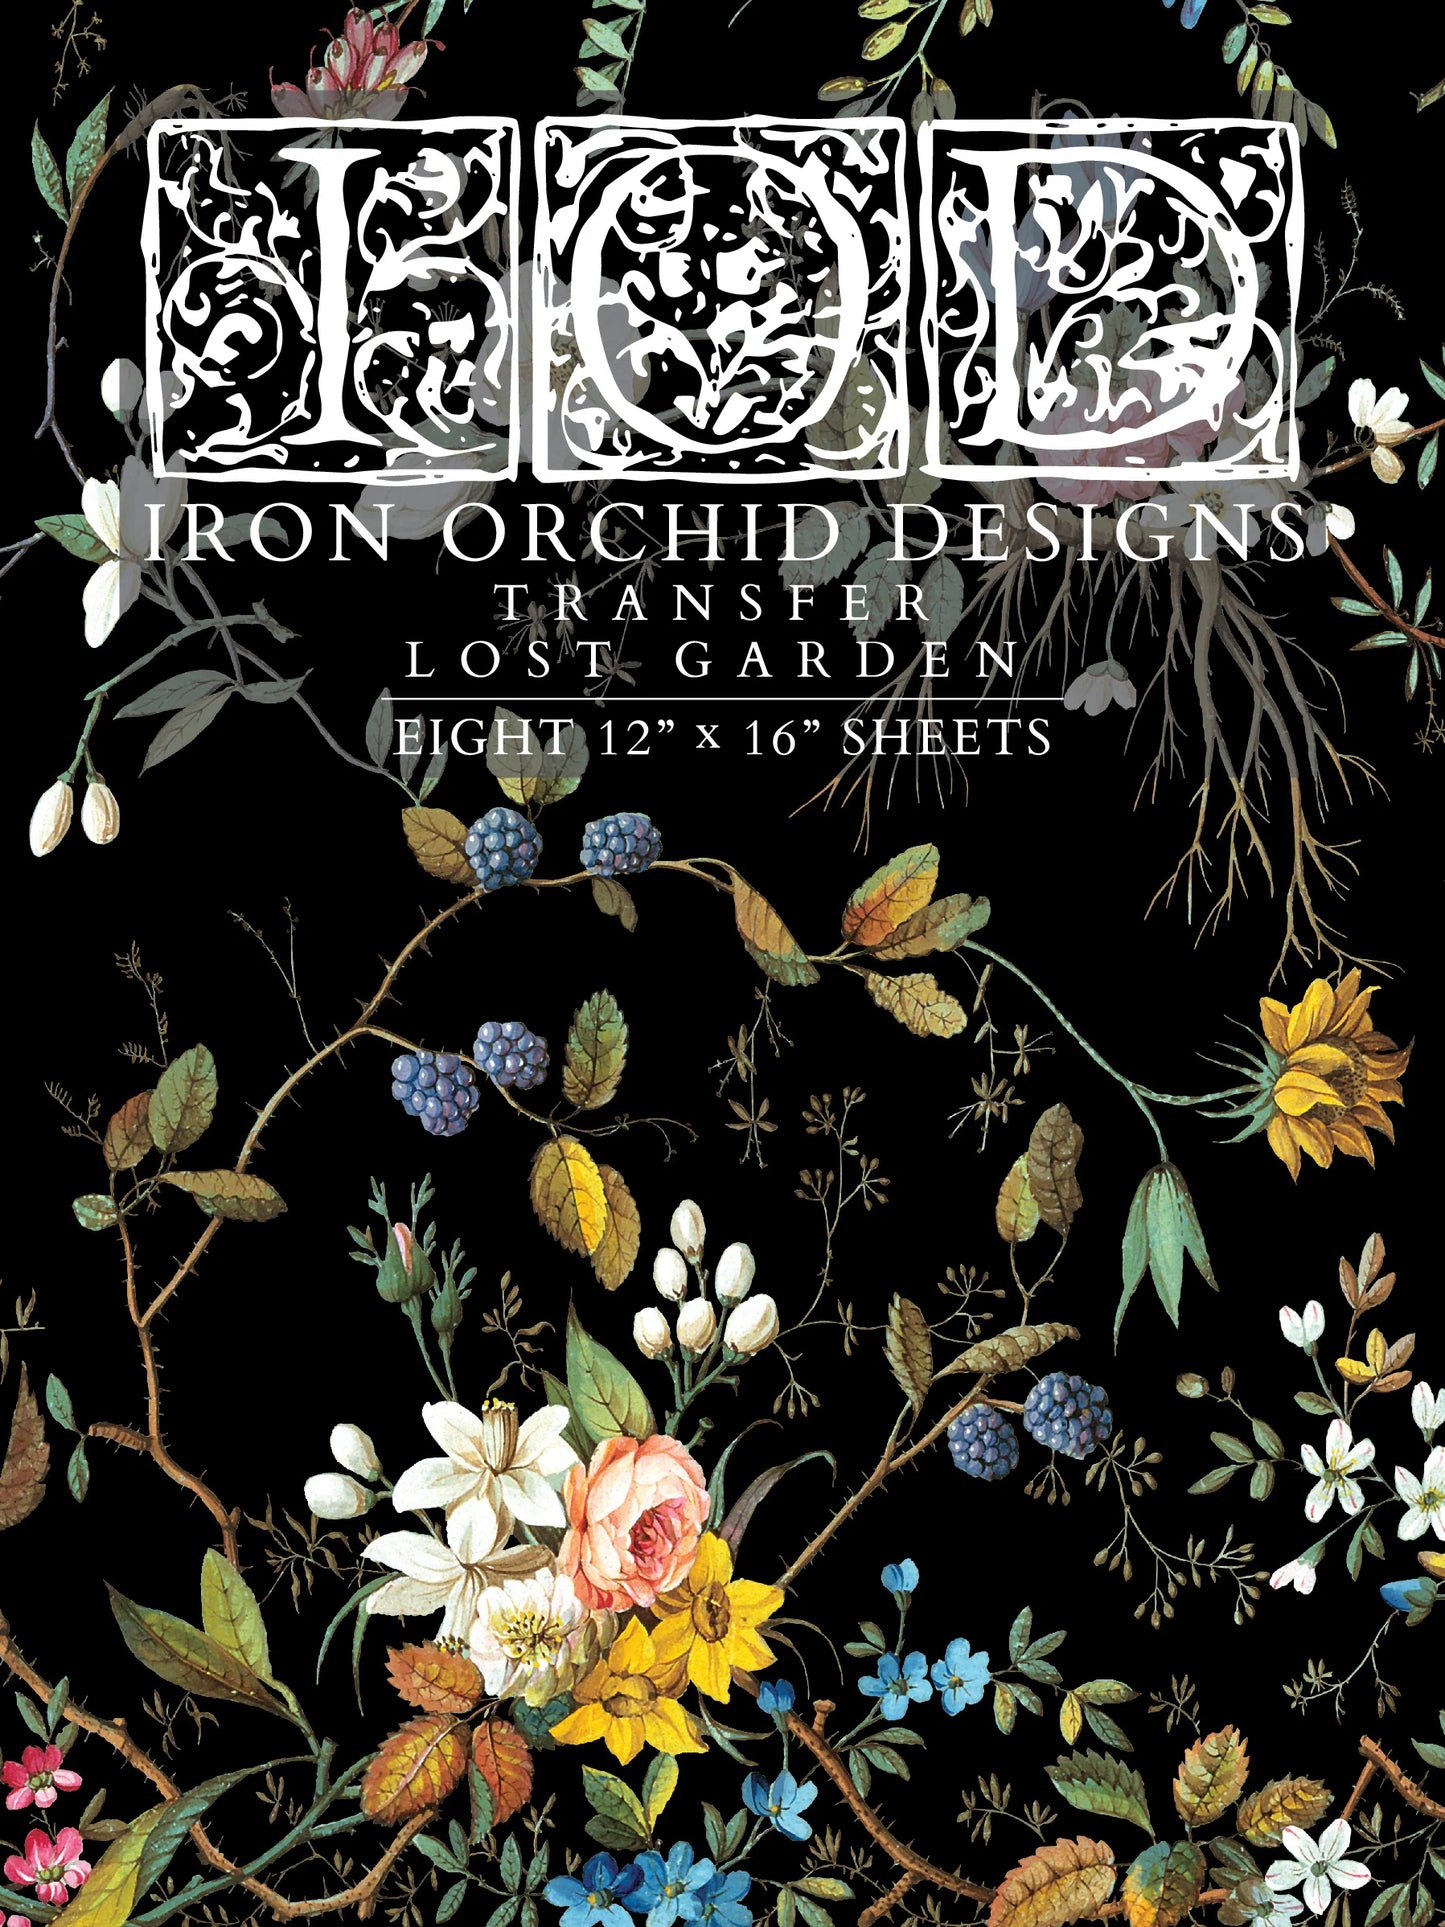
Lost Garden Transfer
Eight, 12" x 16" Transfer Sheets
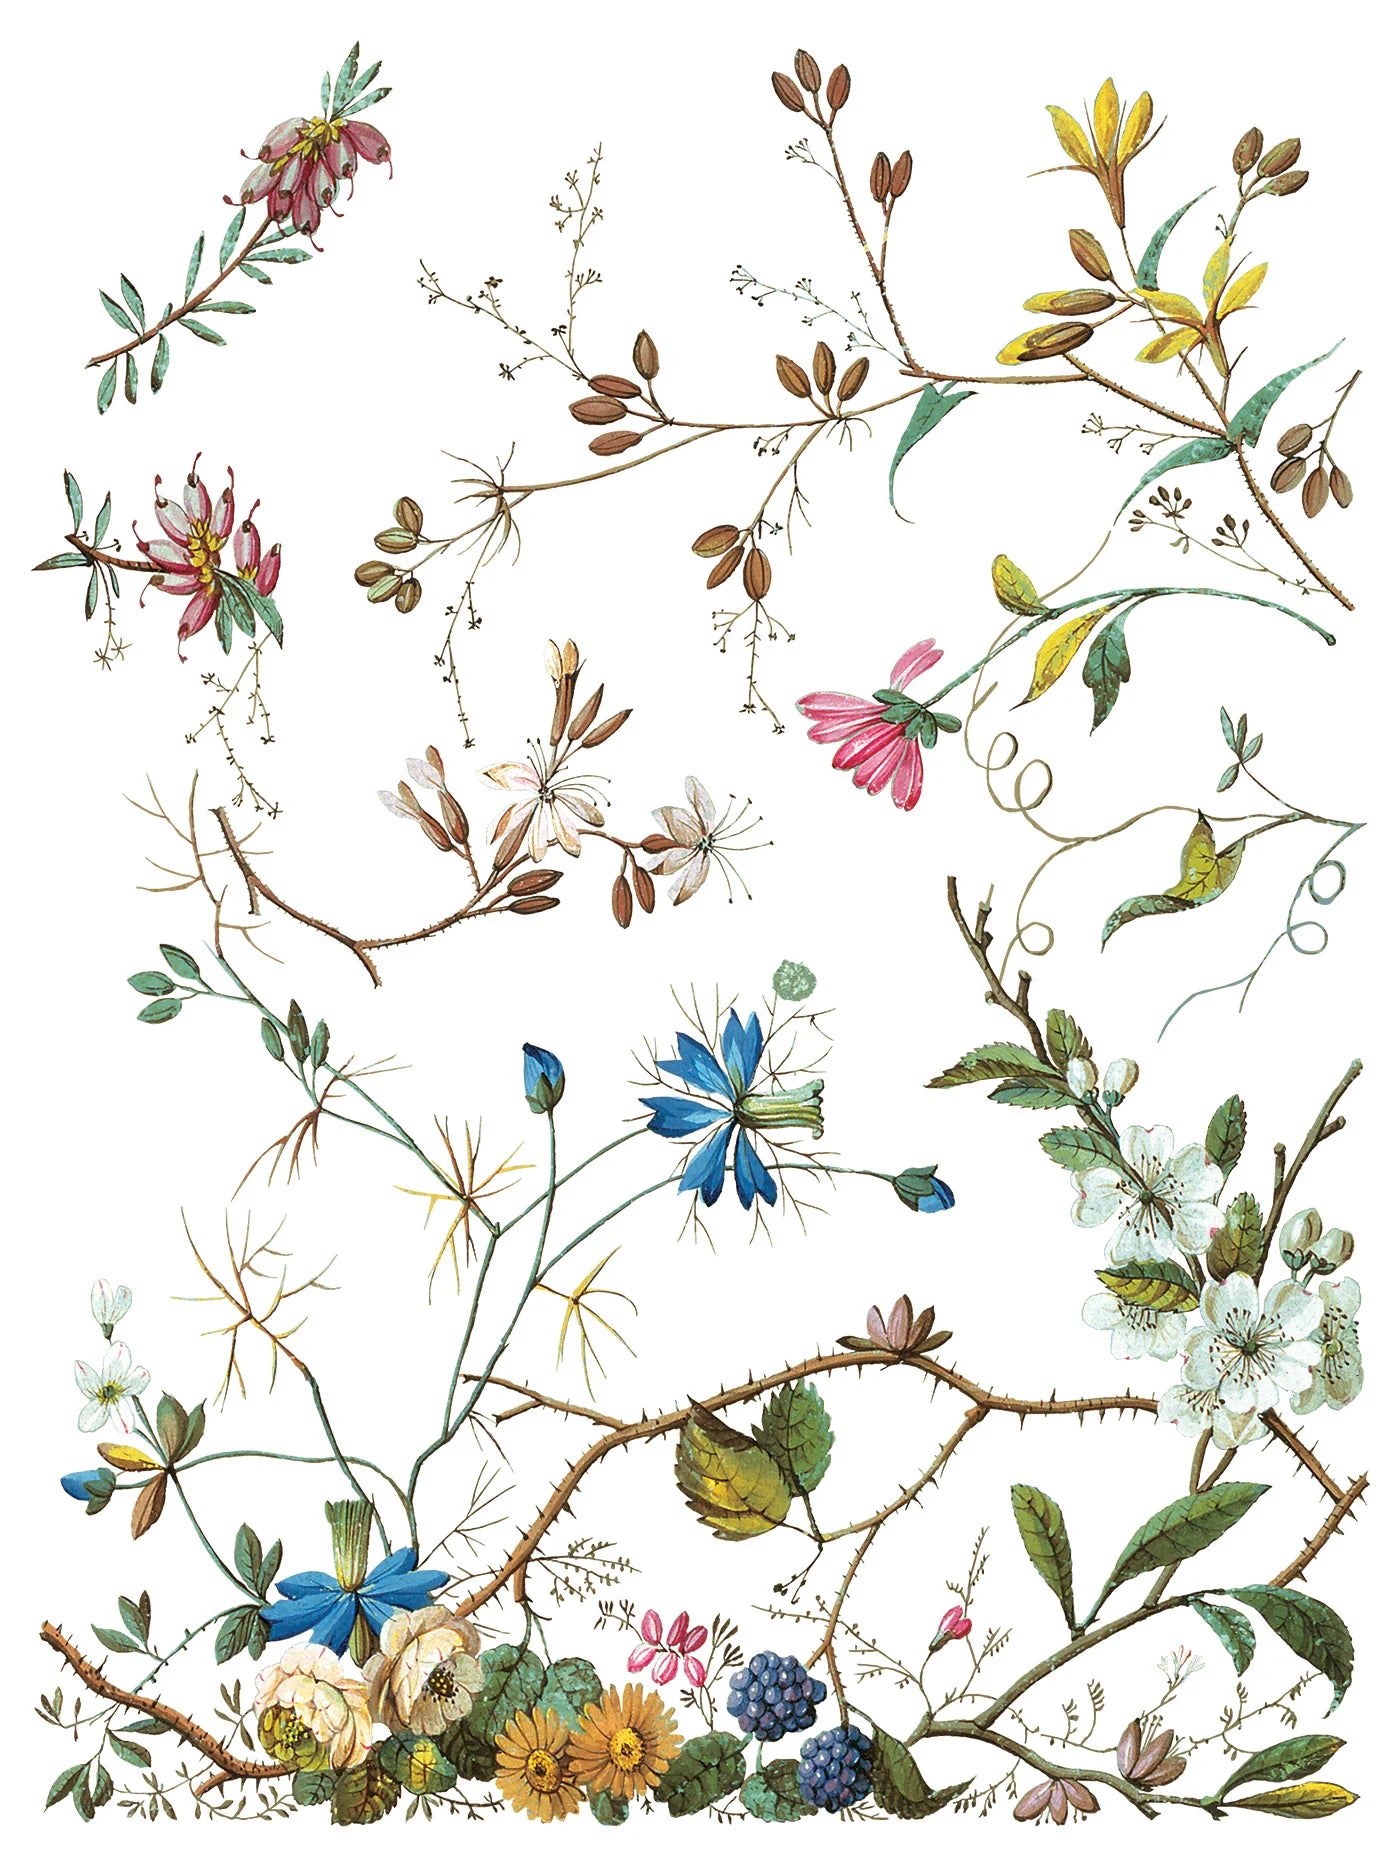
Introducing Lost Garden, a design that feels as though it emerged from a vintage English conservatory. This transfer is pretending to be humble, yet featuring elegant clusters of blooms and flourishes that meander gracefully from a horizontal base upward. It has a lovely, yet sophisticated essence that charms you at first glance and then doesn’t let go.
Designed with large décor in mind, Lost Garden is perfect for reviving your thrifted statement pieces. Imagine this transfer adorning the face of a vintage dresser, the foliage climbing effortlessly up the drawers.
Don’t let its grandeur fool you—Lost Garden is equally beautiful on smaller projects. Use bits and pieces of dainty blooms to embellish trays, create a stunning focal point on a handmade sign, or frame flourishes for new wall decor to complete your spring refresh. Pair it with our Faux Bois Mould to create a beautiful border and added interest to your next project.
Project Suggestions:
-
Furniture: Large vintage dresser, armoire, or side tables.
-
Small Decor: Ceramic pots, dainty wall decor, or trays.
Pair With:
-
Trimmings Moulds
-
Si Belle Gilded Transfer
Application Tips
Start with a clean, dry, matte surface. If painted, make sure it’s well cured, and if you have sanded the paint make certain there is no residual dust. All of these things will interfere with adhesion. For best adhesion, seal your project surface with a high quality, water-based
polyurethane sealer in matte before applying a transfer.
Carefully remove the transfer from its white backing. Slowly and carefully lower the transfer onto your intended surface, making sure that it does not touch until the placement is correct. Use small pieces of low tack tape to hold it in place.
Using the provided tool, or one of your choice, start at one end of the transfer and rub firmly to adhere the image to the surface. Do this until the entire image is transferred. You are welcome for the free arm workout as well. If any parts aren’t transferred when you lift, simply lay it back down and rub more on that portion. After it is transferred, with a clean dry hand, smooth down any bits that aren’t flatly adhered.
We recommend sealing with a water based (or not harsh
solvent based) sealer (waxes created for chalk type paints also work well if they don’t contain harsh solvents).
Share